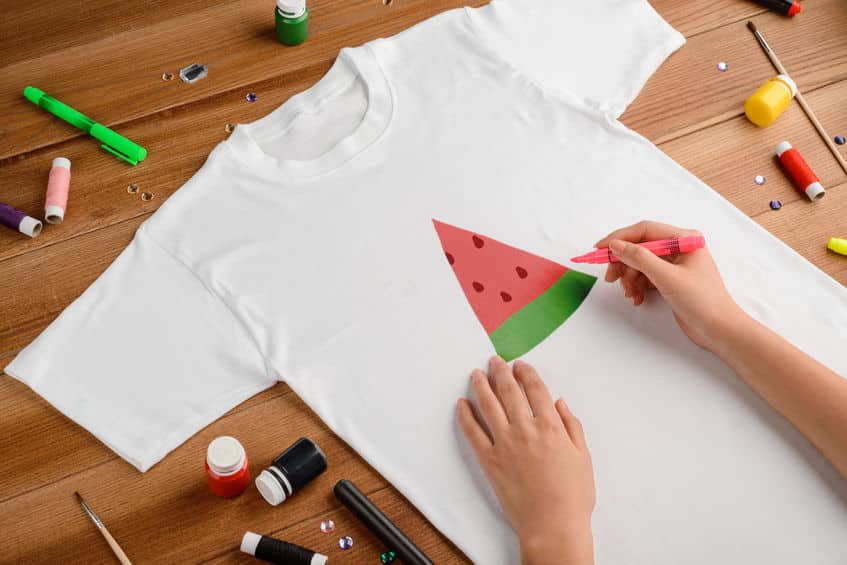
Printing images onto a shirt at home can be easy, even if you don’t have a printer. There’s a very easy transfer process that you can use for DIY shirt printing, and you only need a few household items.

This is what you’ll need:

-Plastic wrap
-Parchment paper
-T-shirt – SpectraUSA’s Retro Ring-Spun t-shirt will work perfectly!
DIY Shirt Printing with No Printer
Step 1:
First, find your image. If you don’t have a printer, cut an image out of a magazine. Turn your iron on to its hottest setting for later steps.
Step 2:
Cover the image with plastic wrap, folding any excess wrap around the back of the image.
Step 3:
Place the wrapped image on your t-shirt, in the position you’d like it to transfer. Cover the image with parchment paper.
Step 4:
Take your iron, and iron thoroughly over the images. Make sure to press down on every corner.
Step 5:
Let the image and shirt cool for a couple minutes, then peel off the parchment paper. Voila! Your image has been transferred.