Reverse dyeing or bleach dyeing flips the concept of tie-dyeing, resulting in cool designs that will be a departure from the traditional hippie look of tie dye. Instead of adding color to your shirt, reverse tie-dyeing removes color from your shirt before adding new colors.
Bleach and Reverse Tie-Dyeing:
Step 1:
To start this project, you’ll need a darker color 100% cotton T-shirt, like SpectraUSA’s Cotton Perfection 3100 shirt. Blacks and dark blues will yield the best results. When you have chosen your shirt, make sure it is dry and squeeze it into a tight mound and then secure the shape by wrapping rubber bands around the shirt.
Step 2:
Place your shirt onto a rack or clean surface. It’s important to use gloves to protect your hands from any chemicals. Using a squeeze bottle filled with bleach, apply to the exposed parts of your shirt, rotating the fabric as needed. Give the bleach some time to take effect. You will see the color begin to fade from the fabric. When the bleached parts are white or off white, remove the rubber bands and run them through the wash to remove the bleach. Do not add any other garments to the wash cycle.
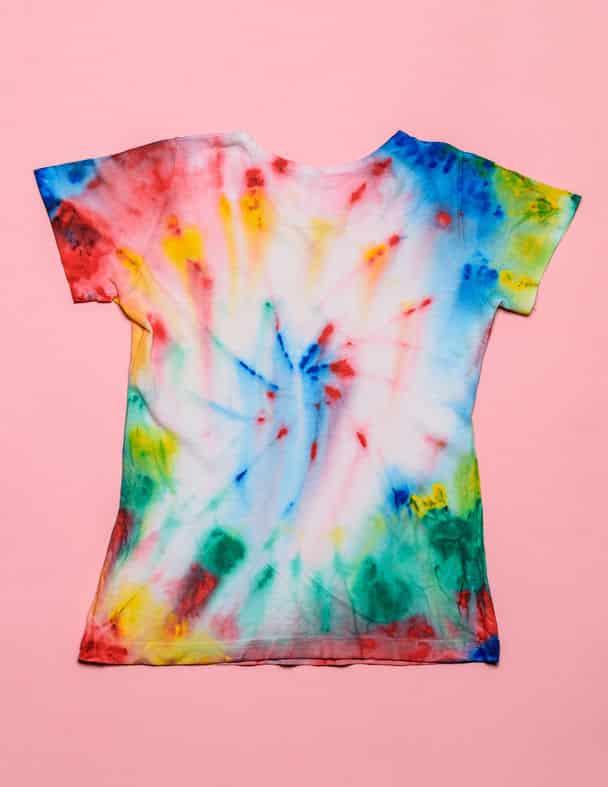
Step 3:
When your shirt comes out of the wash, leave it damp and lay it flat on your chosen work surface. Mix your preferred dyes with water in squeeze bottles. Apply dyes all over the shirt, making sure to cover the lighter parts.
Step 4:
When you’ve added the dyes and you’re happy with the design, carefully place your shirt in a ziplock bag to keep it damp while the dye sets in. Leave your shirt for 6 to 8 hours (the longer the better). After the dye has set, take your shirt out of the bag and wash it alone. Continue to wash until the dye no longer runs. Once your shirt dries it will be ready to wear!